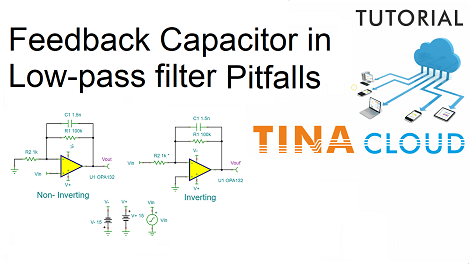
Adding a capacitor in parallel with the feedback resistor of an op amp is an easy way of accomplishing low-pass filtering.
This technique works quite well in an inverting amplifier but not necessarily in a non-inverting amplifier.
In this video we will demonstrate the above by creating and then analyzing an inverting and non-inverting circuits using the Spice model of the OPA132 Operational Amplifier in TINA.
We will illustrate in details how to select, rotate, move or position the components or copy and paste the circuit or part of the circuit using TINA’s Schematic Editor.
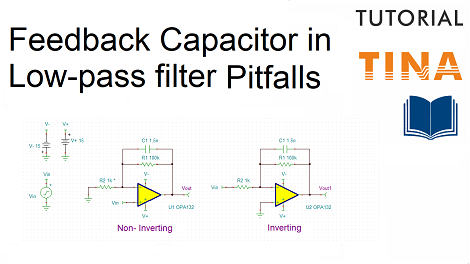
Creating the non-inverting and the inverting circuits
First, we will create the non-inverting circuit, then we will copy the circuit and then modify where needed to create the inverting circuit.
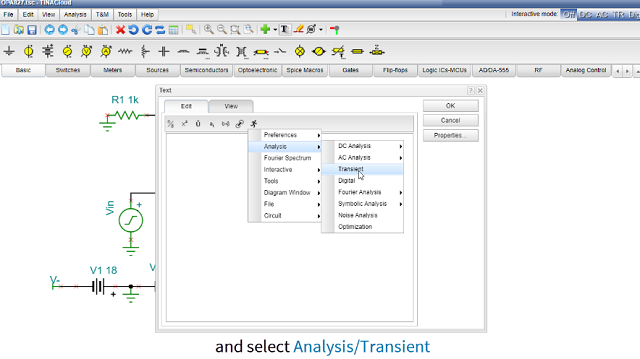
To test the circuits we will run AC Transfer Characteristic from the Analysis menu.
Testing the Non-inverting circuit
To test the non-inverting circuit click the output voltage pin of the Non-Inverting circuit and Set the Display signal to „Yes” mode, or check if it is already set so. Also change the signal of the output voltage pin of the Inverting circuit to No.
Next, run AC Analysis. As we can see for the lowest curve with a gain of 6db the stopband attenuation is 6dB only.
Analyzing the Inverting circuit
To test the inverting circuit click the output voltage pin of the Inverting circuit and Set the Display signal to „Yes” mode. Also change back the signal of the output voltage pin of the Non-Inverting circuit to No.
After running AC Analysis we can see that all curves exhibit normal 20dB/decade stopband attenuation.
We will also show how to add labels to the curve in the diagram and edit text properties.
Finally we will add this diagram to the circuit to save them together.
To learn more watch our tutorial video.
You can learn more about TINA here: www.tina.com
You can learn more about TINACloud here: www.tinacloud.com