Installing and Running TINA on macOS
Our tutorials (UK version, US version) show you how to install and run the TINA software on a macOS system. Follow these steps:
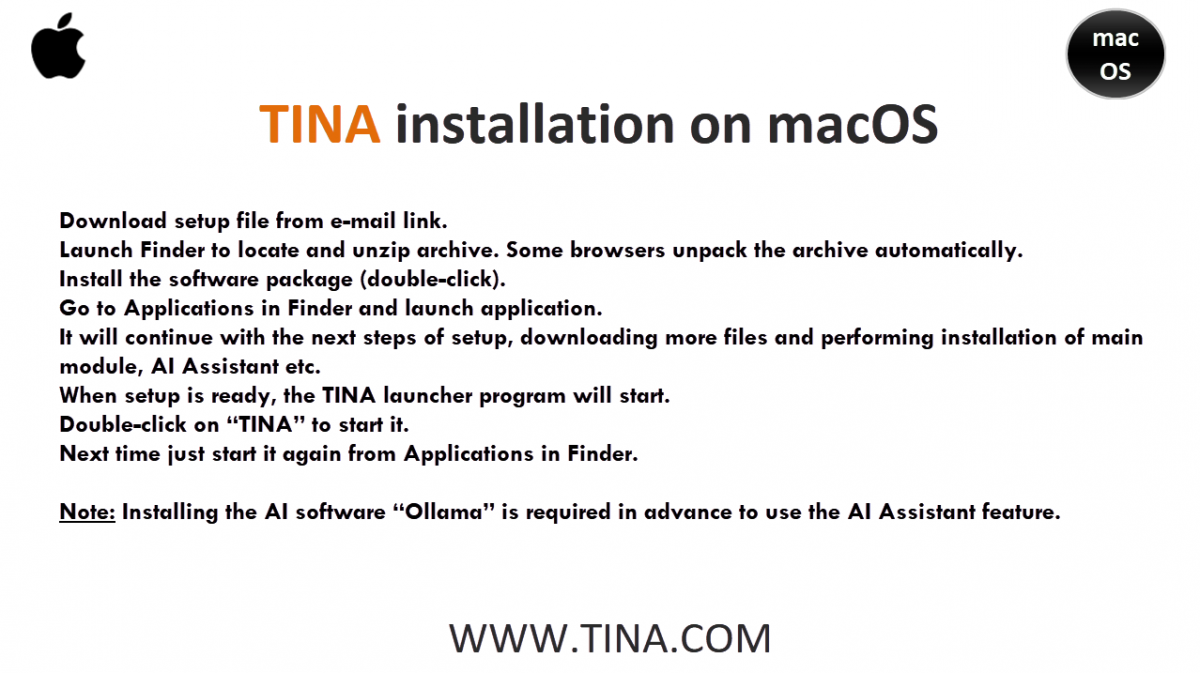
- Download the installer: Download the setup file using the link provided in your email.
- Unzip the archive: Use Finder to locate the downloaded file and unzip the archive. Some web browsers may do this automatically.
- Install the software: Double-click the installation package to begin the installation.
- Launch the application: After installation, go to the Applications folder in Finder and launch TINA.
- Complete the setup: The program will download additional files and install the main modules and the AI Assistant.
- Start TINA: Once the setup is complete, the TINA launcher will open. Double-click the TINA icon to start the program.
Registering and Authorizing TINA
To unlock the full version of the software, you’ll need to authorize it with your order number.
- Find your order number: Copy the order number from your order confirmation email.
- Authorize the software: In TINA, click the Authorize button.
- Enter the order number: Paste your order number into the authorization window and click OK.
After this initial setup, you can launch the application directly from the Applications folder in Finder.
Important Note on AI Assistant:To use the AI Assistant feature, you must have the AI software Ollama installed on your system beforehand.
TINA v15 on macOS: Practical Examples
In the following sections, we will use practical examples to demonstrate how to use TINA v15 on macOS, covering:
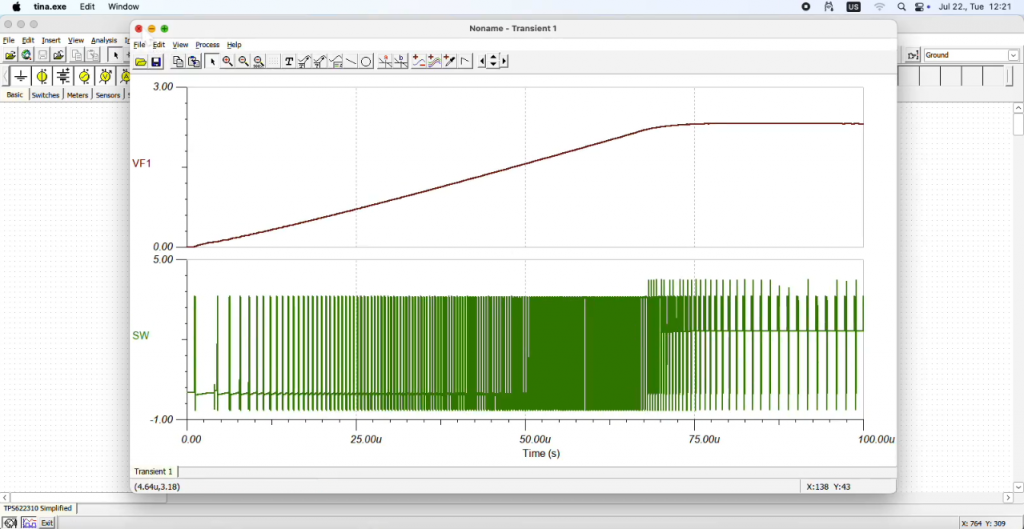
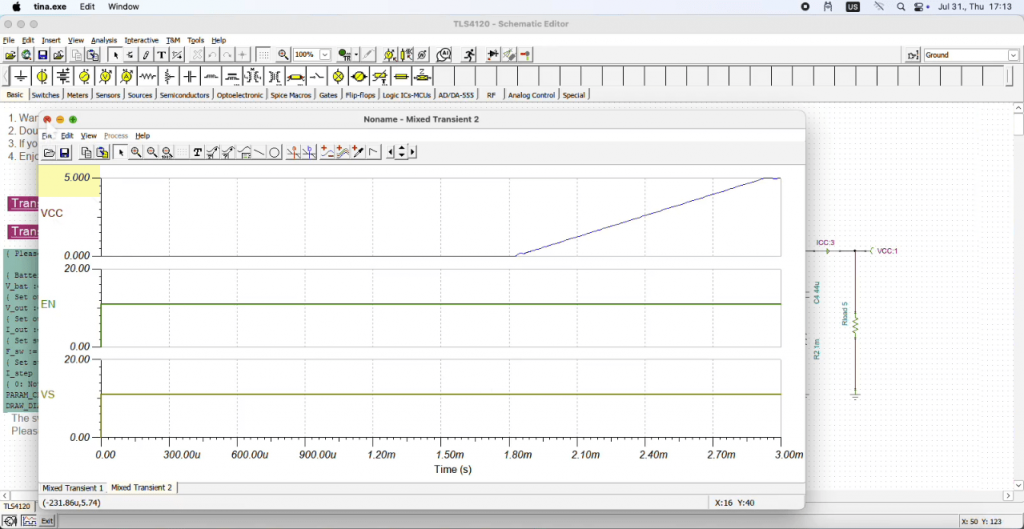
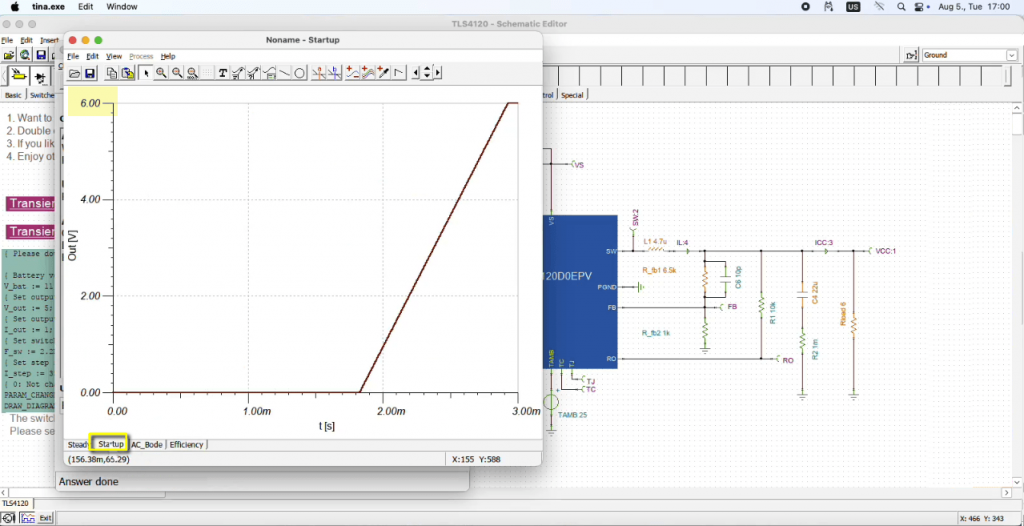
- Transient Analysis
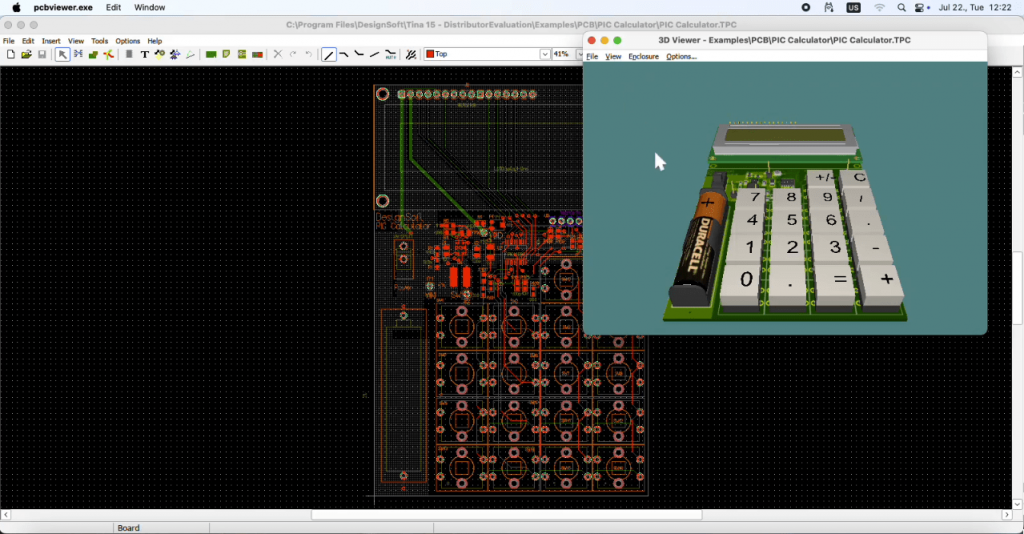
- PCB Designer
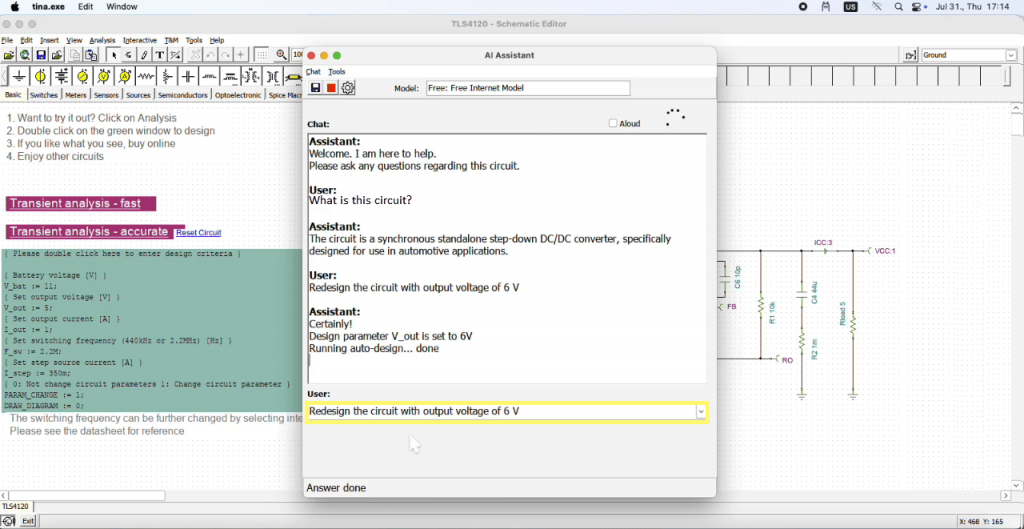
- Using TINA’s AI Assistant
Click here (UK version, US version) to watch our videos.
You can learn more about TINA here: www.tina.com
You can learn more about TINACloud here: www.tinacloud.com